This will be a multi part blogging of my journy to build a Home Theatre PC (HTPC), becasue so many things was learned to put all in a single post.
The context
The TV
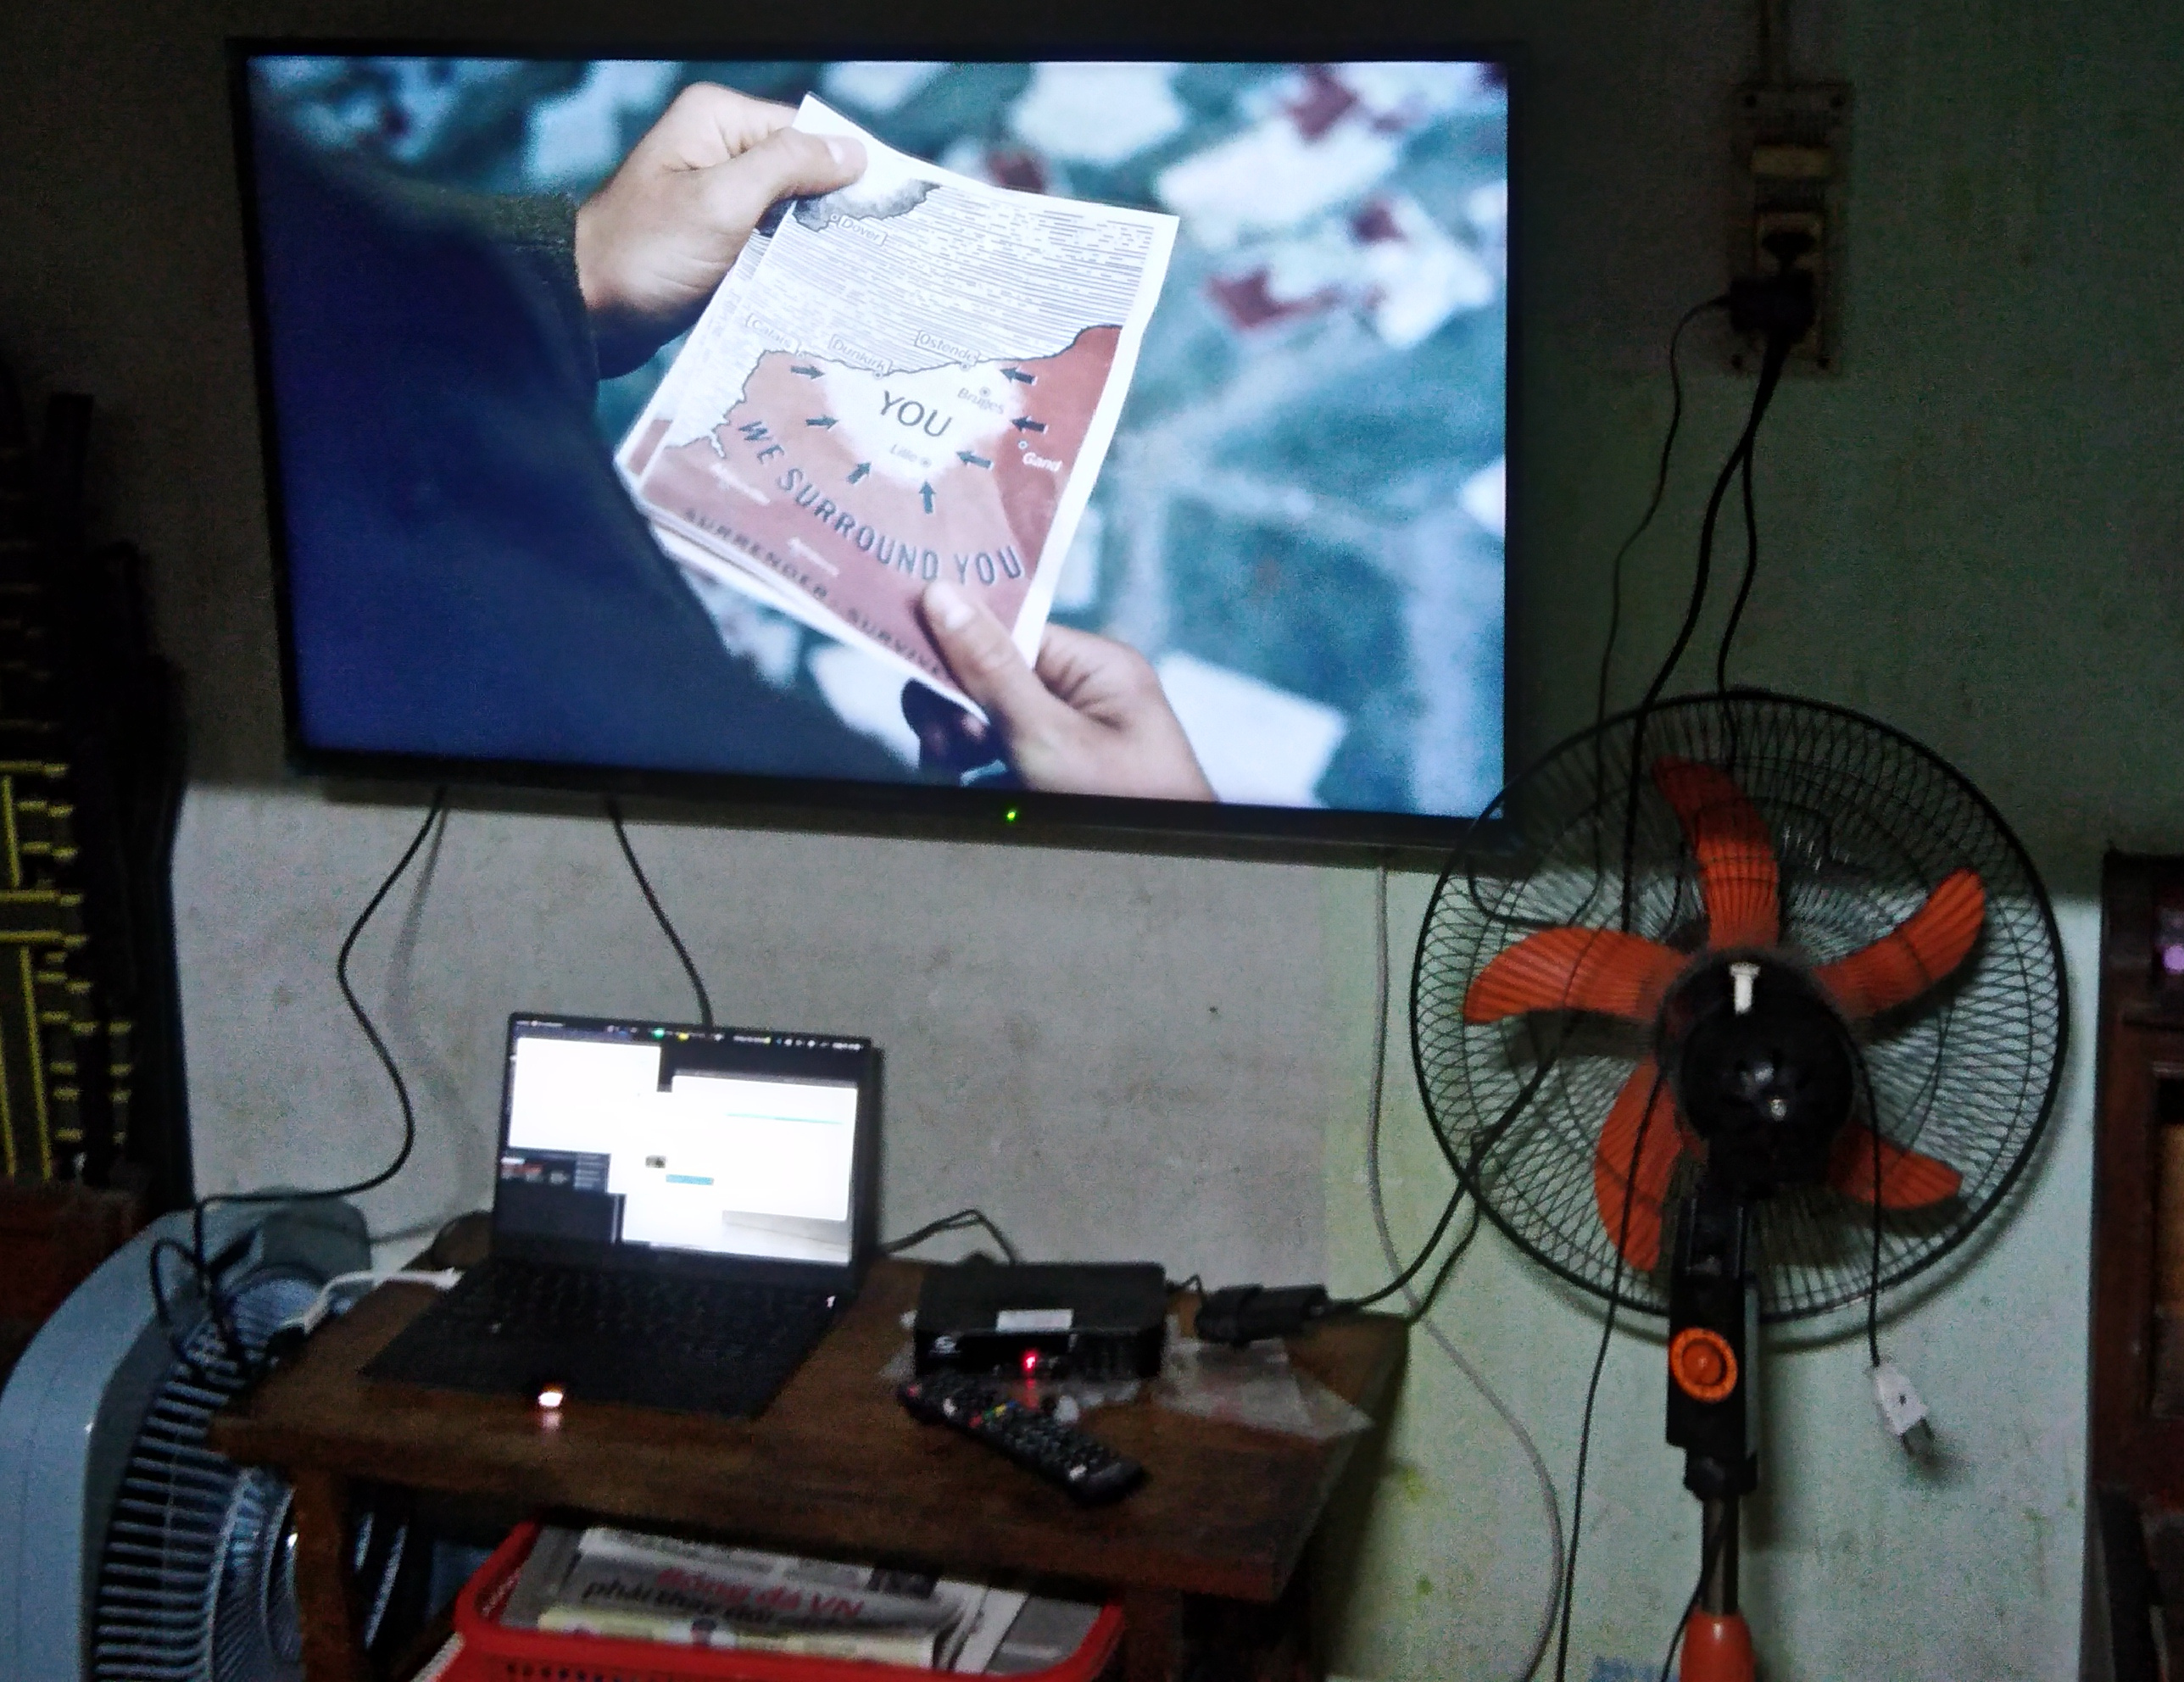
After a very long long long time of ear whispering and diner table talking, I finally persuade mom to get rid of the old junk CRT TV to make space for my new 4K TV. Even though I had long saved up enough for that TV, I simply couldn’t find a place to put it because the house is cramping and Mom was reluctant to part way with the good old and sentimentally valuable furniture.
So I quickly dash to the electronic store and bring back the Panasonic TH-43EX605V

It was the cheapest, none Chinese brand, 4K TV with HDR support in the store, nothing fancy but to the one who never use big screen before, it was HUGE!!!
The plan
So the challenge is finding content to be watched on this TV. My cable company provide TV services but they are capped at FullHD 1080p. The majority of my 4K content come from private torrent tracker where I can leech a bunch of movies or TV-series RIP in 4K x265 format:

Even though my TV promote itself as “smart”-TV, I pretty much don’t care about those features since it has a slow as hell processor and completely helpless against file with x265 codec. My long term goal is to build a HTPC and connect it to the TV since I has got tons of experience using PC anyway, it would be a less step learning curve than having to deal with the TV’s peky apps. The plan is to upgrade my current PC then scavenge old parts to build the HTPC. But with the meltdown and spectre haunting all CPU giants, it’s best to delay upgrading the PC until new hardware with no vulnerable come out.
And so, I decided to use my laptop to double as the HTPC and my current PC will double as the Home media server (HMS). And this blog post will document what change need to be made for those to computer to serve as their double role.
The server
The easy start
First of all, since I’m pretty much the sole user of this HTPC-HMS setup, there are a lots of use-case that I won’t have to wory about. First of, I don’t have to get all of my movie archive online at all time. There’s no need to setup NAS or huge storage server, I can keep the film I already watched archive and stashed away in backup hard disk, only hot-swap them in the server when I’m really in the mood. So it’s pretty much “just install openssh” and the server is done.
On the server, install openssh and start it
# pacman -S openssh
# systemctl start sshd
Then on the client (my laptop) just open Nautilus and connect:

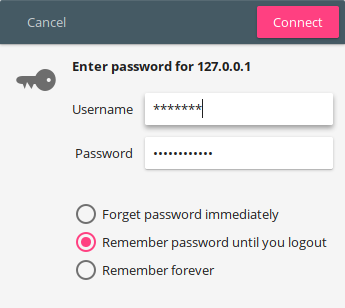
In just type the ip address, preceded by sftp:// and then enter your server’s account username and password then you’re all set. In fact I love file sharing on linux so much more than it is on windows. No twiddling with “Network and sharing settings” and stuff. Then same protocol that’s used to control computer can be used for file sharing with traffic encryption and all. After you connect, it’s only the matter of drag and drop the mkv file into your favourite media player on the laptop.
However, I soon ran into trouble when I download a movie that was encode with so high bitrate my laptop can’t open :O
The Problem.
My laptop is the first-gen Dell XPS13 (9343 model) with only a Broadwell CPU (i5-5200U), and only the next gen with Skylake CPU would support decoding HEVC (x265) 10bit profile. 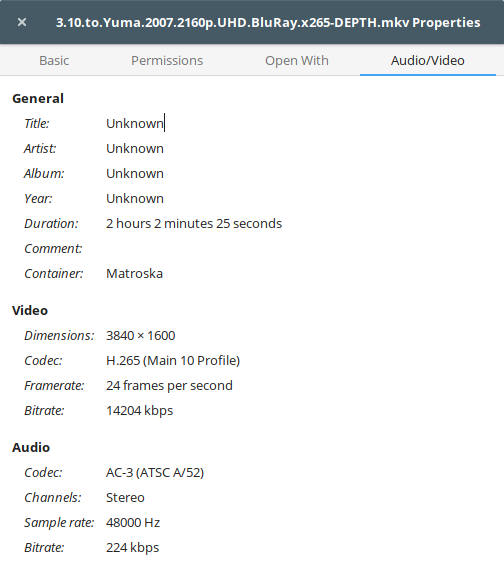
The 3:10 to Yuma with it’s 14204 kbps bitrate would drive my laptop CPU to 99% usage and the fan was screeching like crazy.
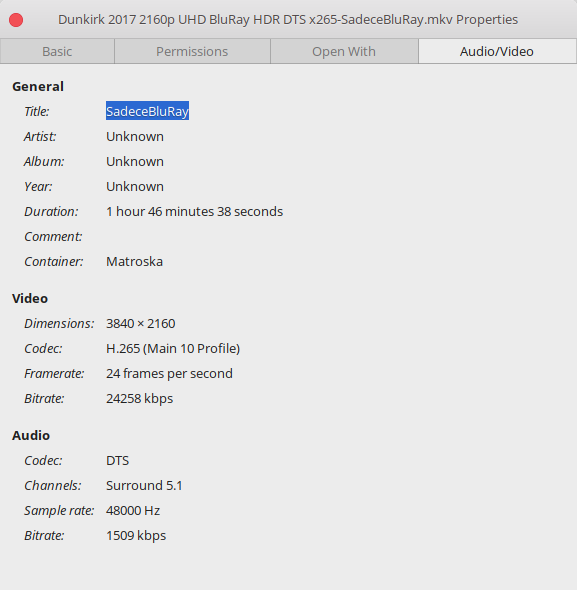
So, Dunkirk with its 24258 kbps is simply too much for my laptop CPU to handle. Frame was dropping left and right and audio was going a full second and a half before video can catch up. Totally unwatchable.
Now my PC doesn’t fair much better, neither the i5-3550 nor the Geforce GTX750 have native x265 decoding capability but at least my PC CPU can open that file with 60% CPU usage. So now I’m left with a few choice while saving up for new hardware:
- Buy a 15 meters HDMI cable to connect the TV to PC. This would ensure best performance but that’s almost the maximum length on HDMI 1.2 cable and it won’t come cheap. Moreover, zigzagging 15m of hard cable around the house is no fun job! Where’s the “coolness” in this method? It quickly passed up.
- Decode the file on my PC and stream the decoded video over wifi to the laptop. Now that solution would stretch my tech exprience to it’s limit and one cannot expect a more cool solution. I got a chance to face-off with my old enemy “the task of setting up media streaming server”.
And it’s time to wrap up part 1. Part 2 will document my expermiment with various streaming solution.
Comments
One response to “Building a home media streaming server. Part 1: The media server”
HDB kìa -_-